> 2020-08-23_22-27-09.png")
Raketa Travel supports single sign-on (SSO) technology through SAML 2.0. The SAML 2.0 identity provider (IDP) can be any system, including your own Active Directory Federation Services (ADFS) server installation.
ADFS is a service provided by Microsoft as a standard Windows Server role. It provides the ability to log into WEB services using existing Active Directory authentication data. In most cases, this is the login / password for a domain account.
To use ADFS, you must have:
We provide:
After all necessary settings, you should provide:
Full table File.xlsx
After meeting the basic requirements, install ADFS. Configuration and installation are detailed in the Microsoft Knowledge Base:
https://docs.microsoft.com/en-us/windows-server/identity/ad-fs/deployment/deploying-a-federation-server-farm
After ADFS is fully installed, see the value for "SAML 2.0 / W-Federation" in the "Endpoints" section. If you did not change the settings during installation, the value will be "/ adfs / ls /".
At this point, you are ready to set up communication between ADFS and Raketa Travel. This relationship is established through the Relying Party Trust..
Open the Relying Party Trusts directory in the AD FS Management snap-in. In the action bar, select Add Relying Party Trusts. This action will launch the configuration wizard.
 > 2020-08-23_22-27-38.png")
In the Select Data Source step, select Enter data about relying party manually.
 > 2020-08-23_22-28-11.png")
In the next step, provide any desired name and notes.
 > 2020-08-23_22-29-44.png")
If the next step prompts you to select a profile, select "AD FS profile".
At the step "Configure Certificate", you do not need to specify an additional certificate.
 > 2020-08-23_22-30-14.png")
In the Configure URL step, enable SAML 2.0 WebSSO support and enter the login URL we provided in the format https://raketa.travel/sso/acs?clientId=YOUR_CLIENT_ID
 > 2020-08-23_22-31-25.png")
In the "Configure Identifiers" step, enter "https://raketa.travel" and click the "Add" button.
 > 2020-08-23_22-32-02.png")
In the next steps, you can configure additional parameters that apply to this Relationship.
After you create the Relying Party Trust, you need to configure the claim issuance policy. To do this, from the Relying party trusts context menu, select Edit Claim Issuance Policy.
 > 2020-08-23_22-33-40.png")
 > 2020-08-23_22-34-19.png")
In the window, you need to add 2 rules.
First rule:
 > 2020-08-23_22-34-43.png")
 > 2020-08-23_22-36-09.png")
Second rule:
 > 2020-08-23_22-36-31.png")
 > 2020-08-23_22-37-35.png")
After configuring claim issuance policies, you need to further configure Relying Party Trusts. To do this, in the context menu of the Relying Party Trusts, select "Properties".
 > 2020-08-23_22-38-10.png")
On the "Advanced" tab, make sure that the SHA-256 hashing algorithm is set.
 > 2020-08-23_22-38-37.png")
On the Endpoints tab, add an endpoint. To do this, click the "Add SAML" button. In the window that opens, specify:
 > 2020-08-23_22-52-28.png")
 > 2020-08-23_22-53-54.png")
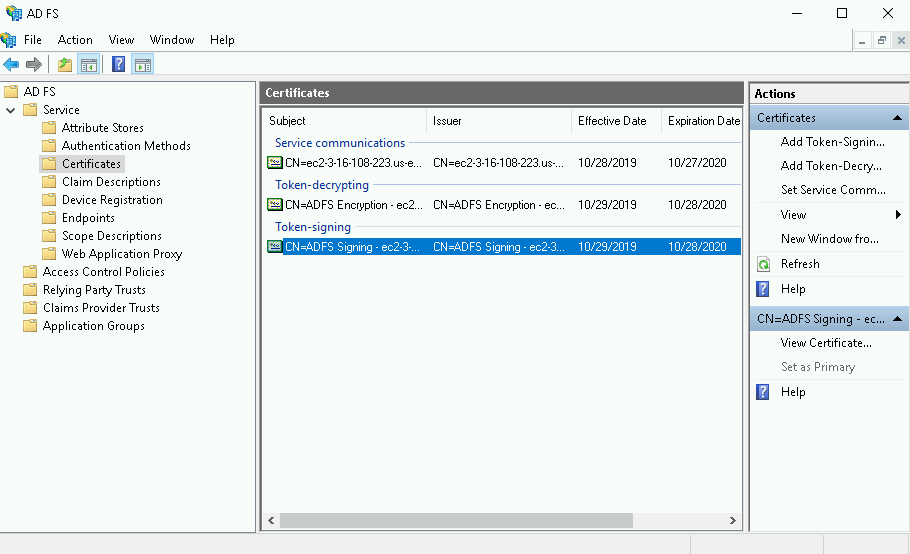
Open the ADFS management snap-in, select AD FS > Service > Certificates, then double-click on the certificate under Token-signing. You can also right-click the field, then select View Certificate in the context menu.
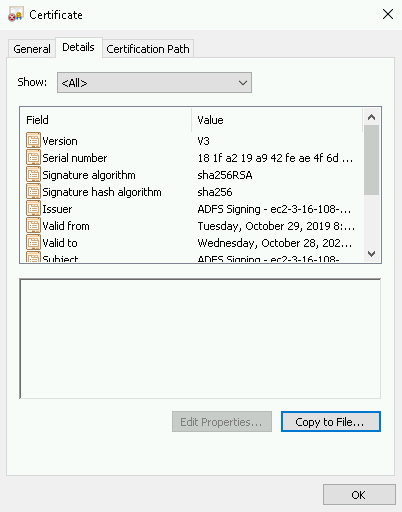
On the Certificate screen, open the Details tab, select Copy to File, then select OK.
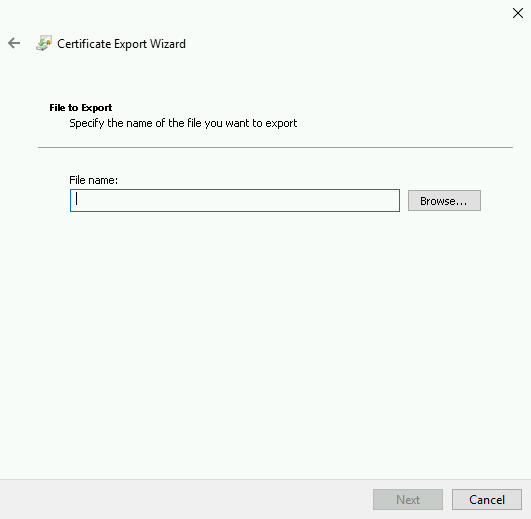
On the Certificate Export Wizard screen, select Next.
Select Base-64 encoded X.509 (.CER), then select Next again.
On the Certificate Export Wizard screen, select Browse to specify the location where you want the Identity Provider Certificate to be exported, then specify the file name.
Select Save. On the Certificate Export Wizard screen, verify the file path is correct, then select Next.
In the Completing the Certificate Export Wizard, select Finish, then select OK to confirm the export was successful.